Setting up a VPNUK SMART DNS connection on Smart TV.
There are so many Smart TV models and manufacturers in the world that it would be impossible for us to offer a setup configuration tutorial for all of them. However, we have listed the setup process for popular TVs. Once you have your current IP registered for Smart DNS use scroll down to Part 2 for more information on how to setup your Smart TV.
For any TV that does not have a setup tutorial the configuration procedure will be very similar on all makes and models, this tutorial should be similar no matter what TV the DNS configuration is being carried out on. There are still quite a few Smart TV systems that will not work correctly on the Smart DNS service. If you are a new customer please come over to Live Help and we’ll provide you with a free trial account so you can test it on your Smart TV.
Part 1. Registering your IP on the Smart DNS system.
1. Registering your IP on the SmartDNS service
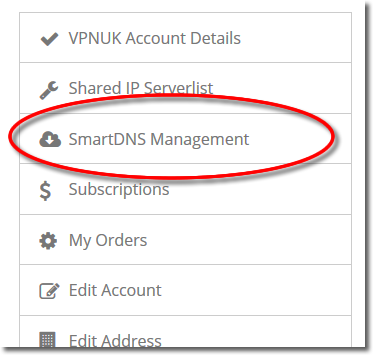
Login to the Members Area using your user account login username and password. Go to the ‘SmartDNS Management‘ menu item
3. Set my IP
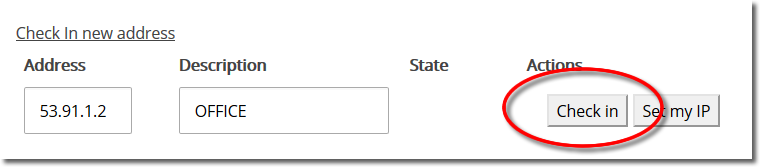
The Smart DNS system can set your current IP address if you do not know what it is. Click onto the ‘Set my IP’ button, that will reveal your current IP address in the Address field.
IMPORTANT: If you change location, or if your IP address changes you will need to check-in the new IP. For example, if you are using wi-fi, at home, and then go to an outside location and use a wi-fi hotspot, you will need to check-in that new IP address. You will then need to check-in your home IP once you return home. Each IP address you use to access the internet has to be checked in before you can access the SmartDNS service.

4. Check in your IP
You can add a description for the IP or hostname you are checking into the Smart DNS system, once you are happy with the Address and the Description click onto the ‘Check in’ button.
5. Registered
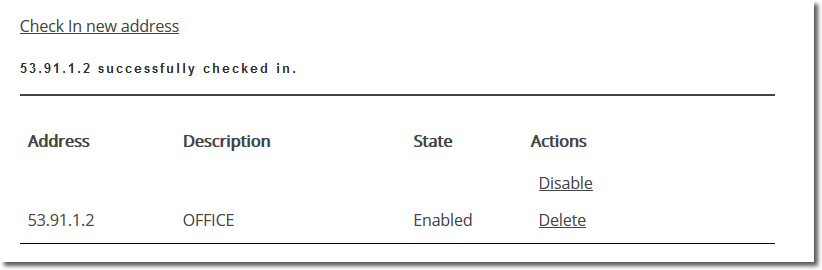
The Smart DNS system will confirm your IP address has been registered, it takes just a couple of seconds become enabled on the service.
6. Get SmartDNS IP
Scroll down to the ‘SmartDNS Server Settings’ section.
7. Copy IP
Copy or make a note of a ‘SmartDNS Server IP’ that you would like to use, you will need this later in the setup.
Part 2. Smart TV Setup Tutorials
Samsung Smart TV Setup
Part 1.
1. Go to Settings.
2. Go to Network.
3. Select Network Settings.
4. Click Start to test your network.
5. After the network test is complete, click on IP Settings.
6. Change DNS Mode to Manual.
7. Enter the VPNUK SmartDNS server IP. You can find the DNS IP in your Client Control Panel.
8. Click OK.
Part 2.
Setup your default country.
1. Return to a regular TV screen and then press the Main Menu button.
2. Scroll down to ‘System’, and then click to enter the sub menu.
3. Setup will automatically be selected by default, click to begin the setup.
4. Scroll through the on-screen setup until you come to the ‘Smart Hub Terms & Conditions, Privacy Policy’ page.
5. With the ‘Smart Hub Terms & Conditions, Privacy Policy’ page on the TV press the following buttons in sequential order: Mute – Return – Volume Up – Channel Up – Mute
6. A country list will appear. Select the destination country you would like to access from the list and then click to continue.
Alternate method for setting up your default country on older Samsung TVs.
1. hold down the STOP button for 8 seconds to perform a hardware reset
2. After 30 seconds, you can turn on the unit again
3. You need to manually set DNS on your service, then finish the setup
4. Then do the >> 2 8 9 << code to choose country.
5. Then ok the smarthub agreements. Update apps. Done. 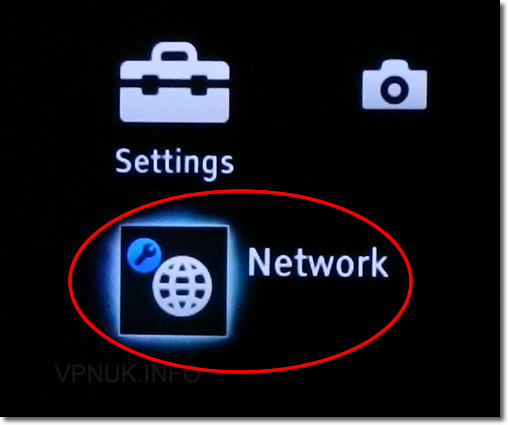
Sony Smart TV Setup
1. Go into the TV’s Menu and locate the ‘Settings’ then go to ‘Network’ settings.
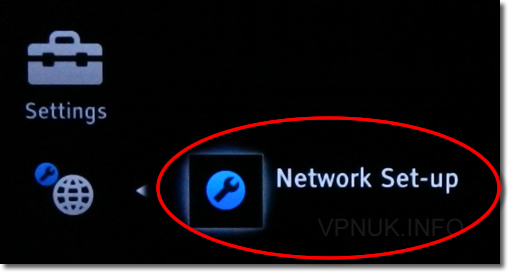
2. Go to ‘Network set-up’ or ‘Network Configuration’ settings.
3. If your TV has multiple connection options, you may have to choose the connection type that you use to access the internet.
4. You should be given the choice of whether or not to use an Auto or Custom Settings. Choose ‘Custom’ or ‘Manual’.
5. Eventually you should reach the section for Editing your IP Address or DNS Settings. Change the ‘Primary DNS’ setting the ‘Smart DNS server IP’.
LG Smart TV Setup
1. Go to Settings.
2. Go to ‘Network Connection’.
3. Select ‘Start Connection’ and the network will attempt to connect.
4. Select ‘Other Network List’ once connected.
5. Select ‘Set Expert’.
6. Select your connectiopn type ‘Wired’ or ‘Wireless’.
7. Select ‘AP List’.
8. Enter your password for the wi-fi network if you need one.
9. Edit your DNS with the VPNUK Smart DNS IP. You can find the DNS IP in your Client Control Panel.
10. Return to the Main settings and select ‘Smart TV Setting’.
11. Select ‘Manual’ for LG Smart World settings.
12. Choose the country you would like to use depending on your DNS, UK or USA.
13. Thats It!
Panasonic Smart TV Setup
1. Select ‘Setup’.
2. Scroll right to access ‘Player Settings’.
3. Scroll down and select ‘Network’.
4. Select ‘Network Settings’.
5. Select ‘IP Address/DNS Settings’.
6. Scroll to ‘DNS Auto Configuration’ and change to ‘Off’.
7. Scroll to ‘Primary DNS’ and enter the VPNUK Smart DNS IP. You can find the DNS IP in your Client Control Panel.
8. Save the ‘Primary DNS’ setting by selecting ‘Yes’ and repeat for the ‘Secondary DNS’.
9. Run the Connection Test.
10. Thats It!
Other Smart TV Setup
1. Go into the TV’s Menu and locate the ‘Settings’ then go to ‘Network’ settings.
2. Go to ‘Network set-up’ or ‘Network Configuration’ settings.
3. If your TV has multiple connection options, you may have to choose the connection type that you use to access the internet.
4. You should be given the choice of whether or not to use an Auto or Custom Settings. Choose ‘Custom’ or ‘Manual’.
5. Eventually you should reach the section for Editing your IP Address or DNS Settings. Change the ‘Primary DNS’ setting the ‘Smart DNS server IP’.